Hiking Photography – 7 Field-Tested Tips to Improve Your Outdoor Shots
- Lars-Henrik Roth

- Aug 7, 2025
- 3 min read
Updated: Nov 12, 2025
From camera gear to light management: here’s how to level up your hiking photos – with a touch of 'photohiking' philosophy. · by Lars-Henrik Roth
The Simplicity of One Lens – A Personal Reflection
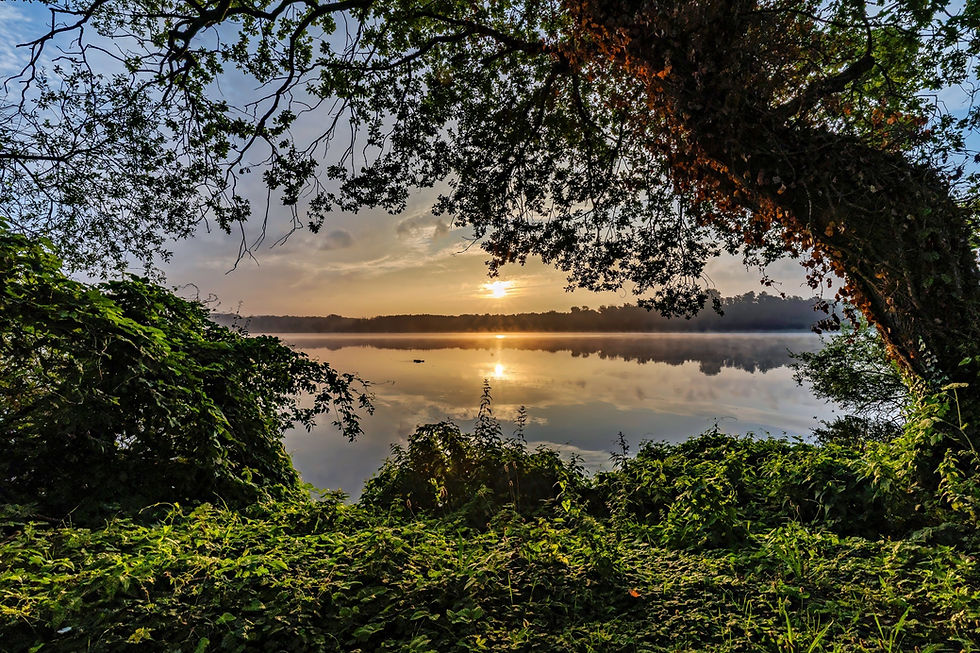
It started with a step. And a memory. A camera in hand, a prime lens – 35mm – and the quiet promise of a walk without expectations. I called it a ZEN-Walk, but in truth, it was something deeper: a return.
Back to when photography wasn’t about sensor size or custom buttons, but about seeing.
Back to when I carried only one lens – not by choice, but because I had no other.
On that quiet trail at Peringsmaar Lake, I realised: less is more isn’t a slogan – it’s a way of feeling. The fixed focal length wasn’t a limit. It was an invitation to slow down, to step forward or back, to compose with my feet. It reminded me that hiking photography isn’t just about landscapes – it’s about presence.
So here it is – not a tutorial, but a reflection. Seven thoughts, shaped by the trail.
1. 📸 Travel Light, Shoot Smart
When you're covering long distances, every gram counts. Choose a versatile setup: one camera, one lens. A wide-to-tele zoom (e.g. 24-240mm) or a fast prime lens (e.g. 35mm) can deliver exceptional results with minimal weight.
"The best lens is the one you’re not too tired to lift."

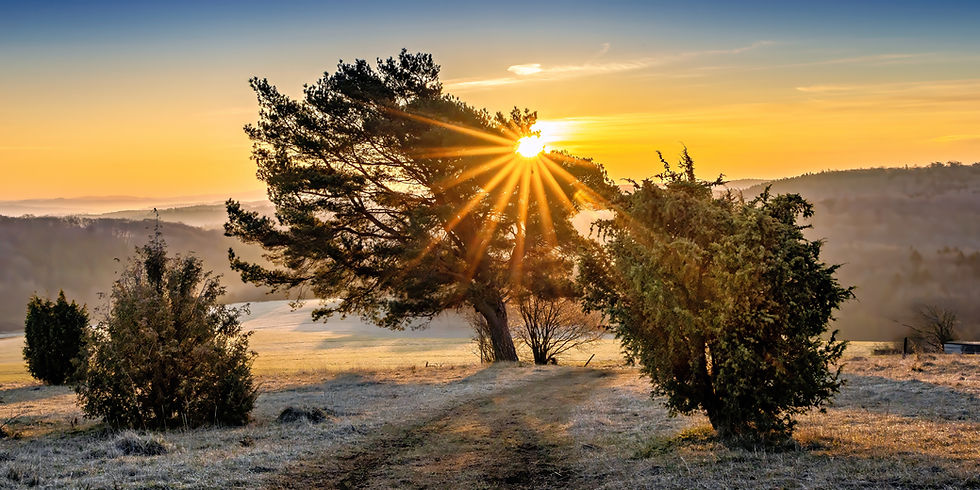
2. 🌅 Know Your Light
Morning and evening hours offer the best mix of soft light, long shadows, and warm tones. Plan your hike around the golden hours – not just for beauty, but for control over exposure and depth.
Tip: Use apps like PhotoPills or VIEWFINDR to predict lighting conditions.
3. 🌳 Respect the Landscape
Don't just shoot the big view. Kneel down. Look up. Notice the textures, contrasts, and patterns. Great hiking photography often lives in the details – a weathered tree trunk, morning dew, or a lone flower in a rocky field.

4. 🧳 Manage Your Energy
Your creative eye fades when you're exhausted. Choose hikes that match your fitness level, and take deliberate photo breaks. Sometimes, the best shots come after you've caught your breath.

5. ⚖️ Balance Composition with Safety
Always watch your footing before you frame your shot. A slight slip on a cliff edge isn’t worth any photo. Consider using a cotton carrier or sling bag that lets you keep your gear accessible without constant unpacking.

6. 🔭 Use Manual Settings with Intention
Light changes fast in the outdoors. Learn to anticipate exposure shifts: use Aperture Priority for quick action, or Manual Mode for full creative control. Always check your histogram.

7. 📲 Tell a Story
Don’t just collect pretty views – capture the journey. Show the trail ahead, the solitude, the scale. Include people when relevant. Use sequences: a wide shot, a detail, a reaction.
Bonus: Combine these visual elements to create a blog post, a social media reel, or your own photohiking diary.

✨ Bonus Thought: What Is "Photohiking"?
Photohiking is more than hiking with a camera. It's a mindset: to walk with intention, to see more than others see, and to wait for the right light. If you’re curious, read our full post on Photohiking and why hiking alone isn't enough.